Sunday, November 23, 2014

A Table with a Side of TV, Please


I found some wonderful pieces in my stash to use for an end table and an entertainment station.

Look at this awesome decorative brick:

I think it would look awesome as a part of a lampstand.

Of course, our lamp stand needs some drawers, so we will use our standard car hood pulls:


Here are all of the pieces I will be using for the lampstand:


First, I put the drawer pulls on the other green ramp pieces.

 
We then attach it to the decorative bricks:
 
 
A desk/lamp strand is born!


Now, for the television stand.

Here are some funky pieces I will use:
 
I will use the transparent green pieces for the television backing.


And these for the top (figurines?)

 
I think these would look good in the DVD / game console area:
 

First, I put the top together:


Then the base:
And the funk:

Add the pieces so that the two can join together:

Add the top:

 
Finish off:
 

Tomorrow we will finish off the living room!!

Until tomorrow!

Friday, November 21, 2014

So-fa so good


Back into the furniture! YAY!  This sofa was so fun to build.
 
 
Yellow and green for the living room? Not quite what I had in mind... but it will be a lovely living room set, I am sure.
 
 
How did I do it?  Here you go:
 
Here are the pieces:
 
 
I started with the back. I wanted a high back for the sofa, so it was quite grand.
 
 
The blinder type pieces make the pillows, I made three colors because I am super awesome!!


We are using the same curved pieces for the arm. 

Put it together and sit down and watch a great movie!!

I also made a quick lamp.  Here are the pieces:

 
Easy peazy lemon squeeze


Tomorrow we will finish up the living room - let's hope I can find something for a television.

Until Tomorrow!!

Thursday, November 20, 2014

It Ain't Easy Being Green


This has been a welcome build from the frustrating couple of days trying to figure things out. I am glad the front yard turned out so well.

We've got an apple tree...

A bush and a sunflower...
Random Foliage:
 
 
A baby chick and a squirrel (not sure if these are Legos are not, but they were in the big bucket.)

And what front yard wouldn't be complete without a chicken!

 
Here is how I built the apple tree.
 
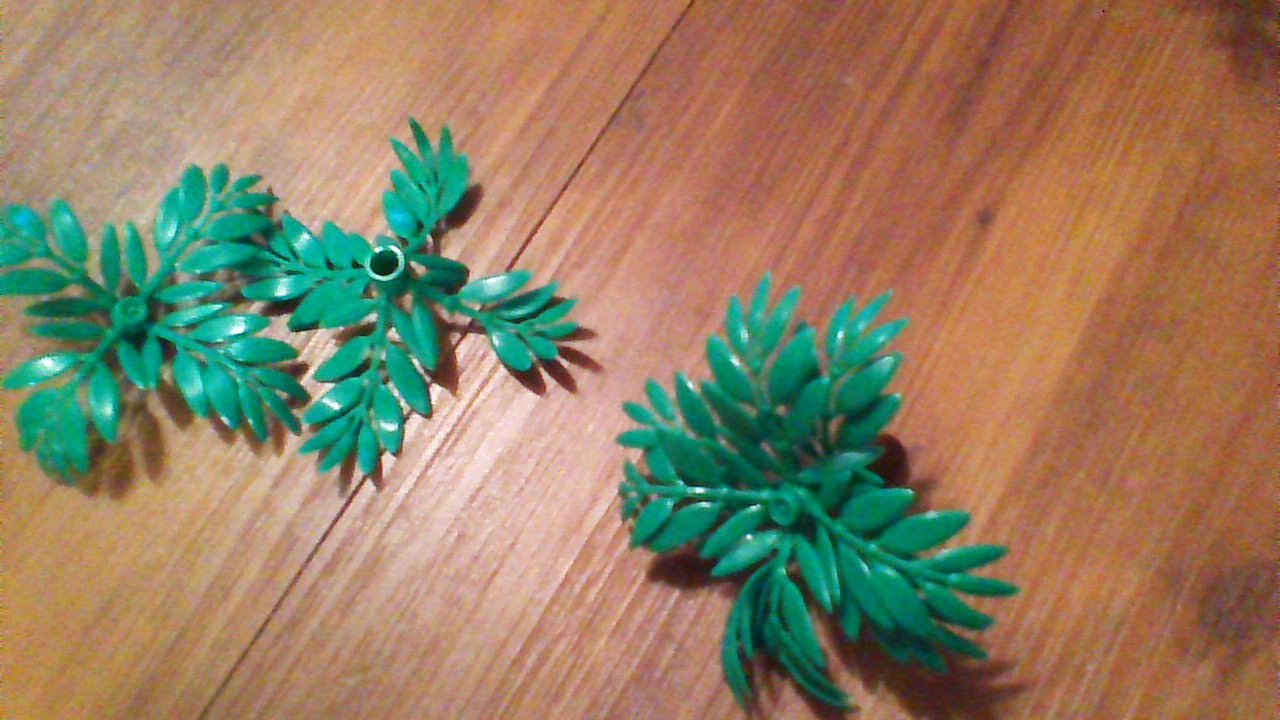
First, I started with this green flame thing.


This is the classic Lego tree trunk:


I added red peg pieces to the individual leaves:

 
Put the little pieces on top of the tree:
 
And - VoilĂ  - an apple tree!!
 

You can use the "busier" leaves for a bush.

I hope that you like how this turned out as much as I did - tomorrow we will begin again on the living room - I'm ready to rock and roll.

Until Tomorrow.


Wednesday, November 19, 2014

Builders Block


I promise I haven't been slacking. I have serious builders block. I tried to build living room pieces, bathroom pieces and the kitchen. Man! I spent hours trying to complete at least one item and get an idea of the flow for the rest of one room and...nothing. So, this is going to be a pretty lame post. I will show you the decorated kid's room (I forgot to do that the last post) and show you the first piece of the living room. It is a comfy chair. It looks surprisingly like the chair in the kids room. I'm not sure if I like the color scheme, but we will see...


Don't ask me why he is wearing his hat and backpack to bed.

Watching something on the telly!
 
And a familiar chair - what do you think of the color scheme?


Side view!!


I told you this post would be pretty lame.  Right?
 
Tomorrow we are going to work on landscaping the front yard.  Why? Because I am still very frustrated at the rest of the furniture. 
 
Until Tomorrow.

Monday, November 17, 2014

Frankenstein Furniture


I titled this post Frankenstein Furniture because I am amazed at what came out of the oddball pieces that I had in the dark red.  I have a good bit of tan pieces, but I wanted to make sure these pieces were even between red and tan.

Let's look at the television first.

Here are the pieces I found:


If you notice the curved piece has ridges on it.  I thought that they looked a little like speakers. 
 
 
Assembly was a byte of pie - hehehehe
 
 
Add antennas so that they get good reception...
 
 
The desk was easy - it was a lot like the parent's desk and mattresses,
 
 
First, put the smooth pieces on top to achieve a desktop.  I used the red square piece and the two right angle pieces to make a TV stand.  Like this:
 
 
The arches make great legs!
 
 
Ready to watch Adventure Time!!


The Chair!!
 
I am amazed that this came out as totally awesome as it did!  It all revolved around the four curved pieces that looked like the arms of chairs. 


I started with that was the beginning of this masterpiece. 


Added the legs at the bottom.


And a schnazzy headrest.

Cushions(Blinder pieces):
 
Franken-furniture complete!!


Until tomorrow!