Monday, December 8, 2014
A Fender Bender
Let's start with the front of the car...
I have these awesome curved pieces that look like they could work for a fender.
These pieces will form the rest of the hood:
And, of course, you need lights! Duh!
I use the two side blue "one-by" brick pieces to start, so that I will be able to attach the side to the front:
Do you notice the high back seats?
I join the hood pieces together on the bottom and add lights:
Put it on the front of the "mind"
Then, I need to make sure to remember to put in a steering wheel:
I like these for side mirrors:
Here is how they look:
I put smooth pieces on the hood to finish it, but I suspect that they will come off when we add the window and hood...
I think we will do the back tomorrow!!
Until then.
Sunday, December 7, 2014
Ready, Set, GO!!
So, today, I decided that I would begin with the wheels and movement and then we can work on the actual car for the next few days.
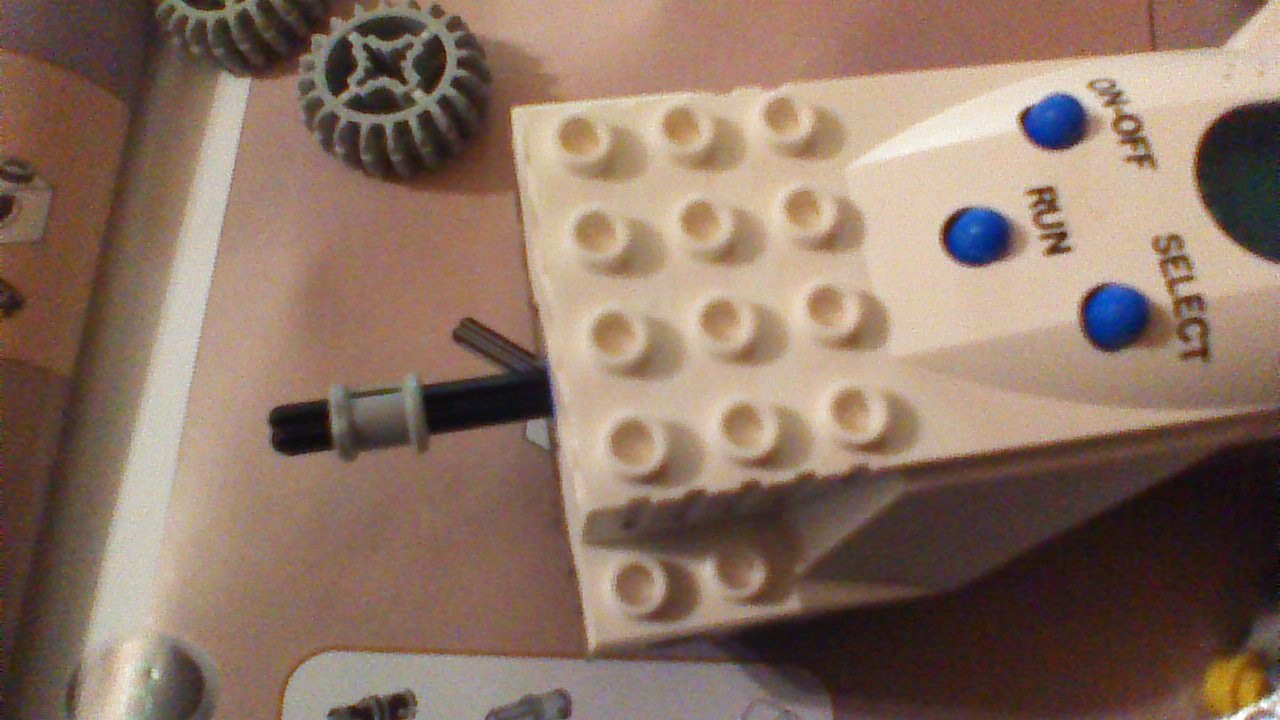
We have two Mindstorms - the original and the Star Wars Droid Developer. I decided to use the Star Wars one, since it was a bit smaller.
I put one of those metal star stick things in there:
I build a piece with the "one-by" bricks with the holes in the side and stick it through the brain.
I then add a gear to end (to make the wheels turn):
I add two of those whole bricks to the sides for the next step:
Another gear gets put into one of the star sticks and lines up, right-angle like, with the first gear.
I then use the wacky "L" shaped with holes pieces and the locking little pegs:
I then add these to the sides of my front.
I then add wheels to the front and back!
The back wheels are simple Lego wheels.
And... It runs!!!
Saturday, December 6, 2014
Here We Go Around and Round and Round
I also wanted to see what pieces I have to make a shower... Sadly, I am at a loss..
So I decided to make a merry-go-round (like at a park)
Here are the parts I used:
This one actually spins!
I attach it to the circle piece - that will serve as the base for the merry-go-round.
And attach a base piece to it:
I add arms so that the kids can hang on:
Then I put a post in the middle to anchor it and, well, because, most merry-go-rounds have a middle piece.
The best thing is... it spins!
I wish I could give you a hint as to what we will do tomorrow, but I have no clue, but I am sure it will be awesome.
Until then!!
Tuesday, December 2, 2014
Time to do my hair!!
Our bathroom is almost complete!! YAY!!
Above is the sink. And here is the bottom layer:
Here is my faucet:
I attach the pieces above so that they swing:
The back half of the cupboard part is just a grey plate with smooth white pieces:
Put them together and voila!
For the sink, I use these right angle pieces to make the back of the sink:
And surround the rest with "one-by" brick pieces:
I then add smooth pieces and the faucet (of course):
I use these right angle pieces to attach the two worlds together:
Put them on the bottom half:
And then attach the top:
Tadaaahh!!!
Fabulous! Tomorrow we will work on the shower!!
Monday, December 1, 2014
You Bowl me Over
I loved building this!
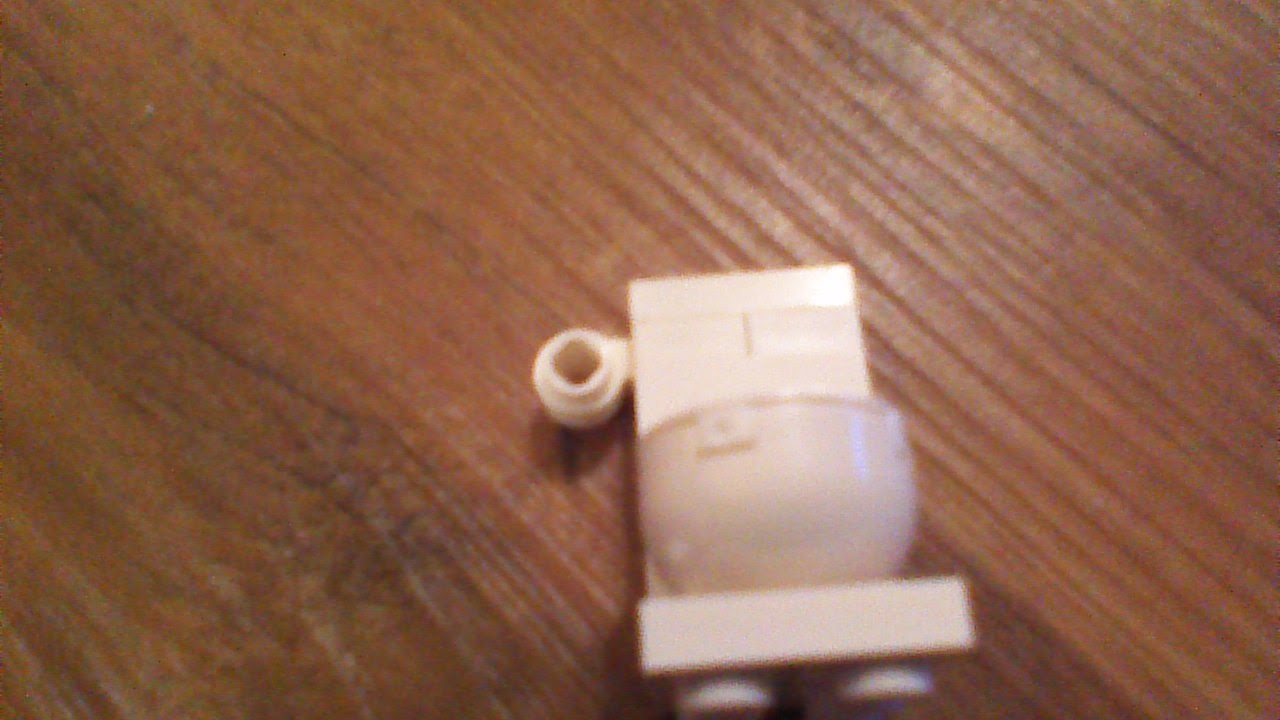
Here are the pieces for the toilet bowl.
Here are the pieces for the flushing thing.
I put the flushing stuff together:
Here are the pieces for the toilet bowl.
Here are the pieces for the flushing thing.
I put the flushing stuff together:
Find the pieces to put the bowl and the back of the bowl together:
The bowl goes on the bottom of the flat piece:
Then assemble the back of the toilet:(See how it looks without the lever?)
And the potty is complete!!
Tomorrow, we will work on the sink for the bathroom!
Until tomorrow!
Subscribe to:
Posts (Atom)